Showing posts with label LaSalle. Show all posts

Monday, 2 May 2016

Stuff

Here's some recently completed stuff:


Sharp Practice V2 (so far)
For the War of 1812: Two groups of 8 regular infantry, one group of 6 Voltigeurs Canadiens, two officer and a drummer


Another shot of the regular infantry and command


When we were playing the last campaign game with LaSalle, I thought that the British infantry brigade should probably have one battalion that could be deployed in an irregular fashion due to their skirmish  factor. I didn't really want to add to the painting pile, but then I realised that I already had some Brunswick Oels skirmishers painted and I could use the flank companies from some British battalions and all I would have to do would be to paint some plumes green and rebase them - so here they are:-

I don't really see the need for flank companies with Lasalle, and in truth if you are using scaled down actual orbats for General de Brigade you don't really need them either.

Campaign Game 2 Pt 2


Narrative to follow:


Thursday, 31 March 2016

Campaign Game 2 Pt 1

So here we go with game two of the campaign pitting the Allied Light Division against a French rearguard force somewhere in the north of Spain / south of France in 1813'ish

Dave's Light Division  was attacking and gained the benefit of an extra general and two additional battalions for being so. CONFESSION TIME: Sorry Dave, but when I was putting the figures away after the game I was bemused by the fact that there were no French units left in the box. - I had added the two extra battalions  and general for attacking when I was defending!!!!

The Light Division had a brigade of line infantry and a foot battery in support.

Here is the Allied deployment. Line brigade in column of attack on the left flank. Rifles and 43rd  to the left of the road , Ross' battery on it and the 52nd to the right of it.  On the far right are the Portuguese consisting of two battalions of cacadores and two of line infantry.


French deployment: Three veteran battalions on the right flank (1 too many), a brigadier (1 too many) a battery of medium artillery and a regiment of dragoons. In the centre, four battalions of conscript infantry (1 too many) . On the far flank, a brigade of elite infantry with a heavy battery.


Both sides at deployment:


As the allied advance began they started taking damage from the French artillery. Seeing the attack developing on the right flank, the French dragoons were ordered to the flank. In order to get to the desired position they had to cross a ploughed field and mask their own artillery which gave the rifles some respite from the bombardment
Yes we took the walls off - most of them weren't based and looked pretty awful..


Ross' battery wasn't able to sustain a viable presence in the centre, being forced to limber up by French artillery fire.


On the French left flank the heavy battery deployed with a filed of fire directly across the line of defence.


On the Allied right the Portuguese and 52nd advanced.


In the centre the 43rd advanced to occupy the farm.


To be continued..................................

Sunday, 13 December 2015

Somewhere in Northern Spain Late 1813ish Part Three


Well we finally finished the game this week. It ultimately went for 20 turns and ended in a draw - both sides choosing to leave the field and managing to recover all their routed units so we'll be on to game two in the New Year.
 
I think it's fair to say that we have both been impressed with how these rules work, and Dave might add his thoughts in the comments below, but for me it has been all about the impact of the Brigadiers. The two French "victories" in melee were brought about by taking advantage of either their own general's positive tactical modifier or the negative modifier of the British general. In addition to this, when it came to rallying lost units after the game, the French brigadiers' positive "Vigour" modifier were crucial.
 
The four lost units (2 British and 2 French) all needed to throw 3s to be recovered for the next game. Dave saved the two British units with no problem, but I threw 2s for both of mine and fortunately these were modified to 3s by the Brigadiers' vigour. In this battle there was definitely something to be said for sticking your bicorne on your sword (just don't Dave, please just don't) and shouting "Vive l'Empereur!"
 
So here's the position at the end of the game.......


On the Allied right flank, the isolated French veteran unit was disposed of as predicted in the last instalment.


In the centre Ross's battery continued to block egress from the village, but the 53rd were perhaps fortunate that night came. They ended in square in the face of the French horse battery and a unit of dragoons.


On the Allied left the rifles re-entered the wood and posed a threat to the horse battery and supporting chasseurs. The KGL dragoons turned about to threaten to support the rifles and 53rd, whilst their attached horse battery threatened the French hussars who had managed to rally off some of the damaged caused to them earlier.


The following three pictures show the closing position from the French perspective:


I think the verdict was "bloody brilliant" - kudos to Sam Mustafa for these rules.

Sunday, 6 December 2015

Somewhere in Northern Spain Late 1813ish Part Two

We've had a couple more sessions on this game and have got to the end of "Normal Time" which is 16 moves. The subtleties of these rules are really beginning to come through now, especially with regard to generals' ratings.
 
 
On the Allied left there were some cavalry melees which ultimately resulted in one regiment of the KGL dragoons routing. Although they were shock cavalry and had an advantage in the number of dice thrown, they were ultimately undone by their general having a poor tactics rating meaning that whilst they hit on 5s, the French hit on 4s. When a general directs combat by using his own good tactical rating or (as in this case) the opponent's poor rating, he puts himself at risk - in this case the French cavalry general survived.
 
In this photo it can been that the Allied left flank is now covered by the horse battery attached to the KGL dragoon brigade. Their roundshot was enough to make the unit of French chasseurs that had done the damage rout as they had been pretty well cut up in the process. The rifles can also be seen withdrawing from the wood.
 
 
In the centre the a general's tactical ability told again with the French brigadier using his own bonus to direct a combat which resulted in the 43rd being routed out of the village. We've started to realise how important an ability this!
 
Ross' battery has redeployed in front of the village and although their firepower is insufficient to cause any damage to the French infantry inside, it is making them think more than twice about advancing towards the objective. The 52nd have now deployed in square next to the battery as they are faced by a unit of French dragoons. As a result they are taking some damage from the French horse battery in the top left corner, but they are both a large unit AND managing to rally the hits off.


On the Allied right a  lone French battalion has assaulted the cacadores to its front. Although it is of decent calibre, it took damage on the way in, partly because of having a poorer skirmish factor, and took another two hits in the melee. It is now one hit away from routing with the French to go next. If they retire they will not be able to rally off a hit and if they do stand and rally AND there is a further move, the cacadores will either go in with cold steel and probably annihilate them or try to inflict the necessary damage point from shooting.  In either case I think I've thrown away one of my few veteran units.


On the French side of the field the 3 remaining units of the cavalry brigade  are sitting in front of the RHA battery.  The lead hussar unit is one hit away from routing and really needs to get the hell out of dodge next move!

 
The 52nd's situation from the French point of view. They are in square due to the presence of the French dragoons and are being constantly hit by roundshot from the French battery.


The French look pretty strong on their left, but most of their infantry is conscript, the previously mentioned veteran battalion's morale is on the verge of collapse and another veteran battalion has effectively been wasted because it was deployed in loose order (irregular formation in LaSalle) to get through the woods. The foot battery looks impressive, but it is effectively firing roundshot blindly into the woods in the hope of doing some damage to the cacadore unit hiding inside.

 
The hussars to the rear thinking "We're going to have to take their place in front of that artillery now aren't we? - are we? - really?"


 And finally a shot of the  52nd and Ross' battery blocking egress from the village and preventing an advance on the objective, which is behind the artillery.


So we are into extra time and all we know for certain is that there is going to be one more French move. The score so far is: France 2 (one unit of chasseurs a cheval) breakpoints received against a total of 9, but they are in imminent danger of receiving another 4 if the battle goes beyond the one extra move ; Allies 5 (one large cavalry unit and one infantry unit) breakpoints against a total of 7, but with little threat of any further immediate losses.
 
I think we are both quite enjoying this - the campaign scenario puts a totally different slant on everything!!


Monday, 9 November 2015

Somewhere in Northern Spain late 1813ish

So Dave and I finally got to start our LaSalle campaign. It's basically setting the Allied Light Division against a French infantry division over a series of tables drawn at random from the LaSalle book. The first side to get three games ahead will be the victors.

The first meeting has the Light Division with a reserve heavy cavalry brigade defending against a French Division supported by light cavalry. Dave is the Allies and I'm taking the forces of evil for once.

The first table is a heavily wooded affair. This is quite well suited for the Light Division but not so much for the French attackers. 

The pictures aren't great, but here we go.


Deployment

A rather fuzzy picture of the French deployment. Light cavalry and horse battery on the right, two infantry battalions and a unit of dragoons in the centre and the balance of the infantry and an artillery battery on the left.


The Allies deployed with the cacadores on the right, the 43rd, 52nd and Ross's battery in the centre and the rifles on the left.


Another view of the Allied deployment.
(The artillery piece next to the wood is the French objective marker)


End of Move 4

The French Horse battery deployed between the woods and the light cavalry seeking a way around what could (very) loosely be described as a flank.


The 43rd have almost occupied the village and Ross's battery have redeployed to cover the gap behind the wood after being forces to retreat by some cannistering from the French horse battery. 


The French foot battery has deployed on a small hill opposite the cacadores and the infantry are trying to look threatening behind it.


Another fuzzy picture, this time of the centre of the field with a French battalion marching up on the road though the wood and another in loose order (irregular) in line in the wood.


The buildings are from Leven Miniatures . I'm going to replace most of my 15mm buildings with 6mm as after playing games up at Mick's (See report on Froeschwiller) I think it's better to have more smaller buildings at 6mm than the one or two 15mm ones that are supposed to represent a village. Thanks to Scotty for bringing them to my attention. Really fast service from them and great little buildings.


Sunday, 14 June 2015

French Horse Artillery

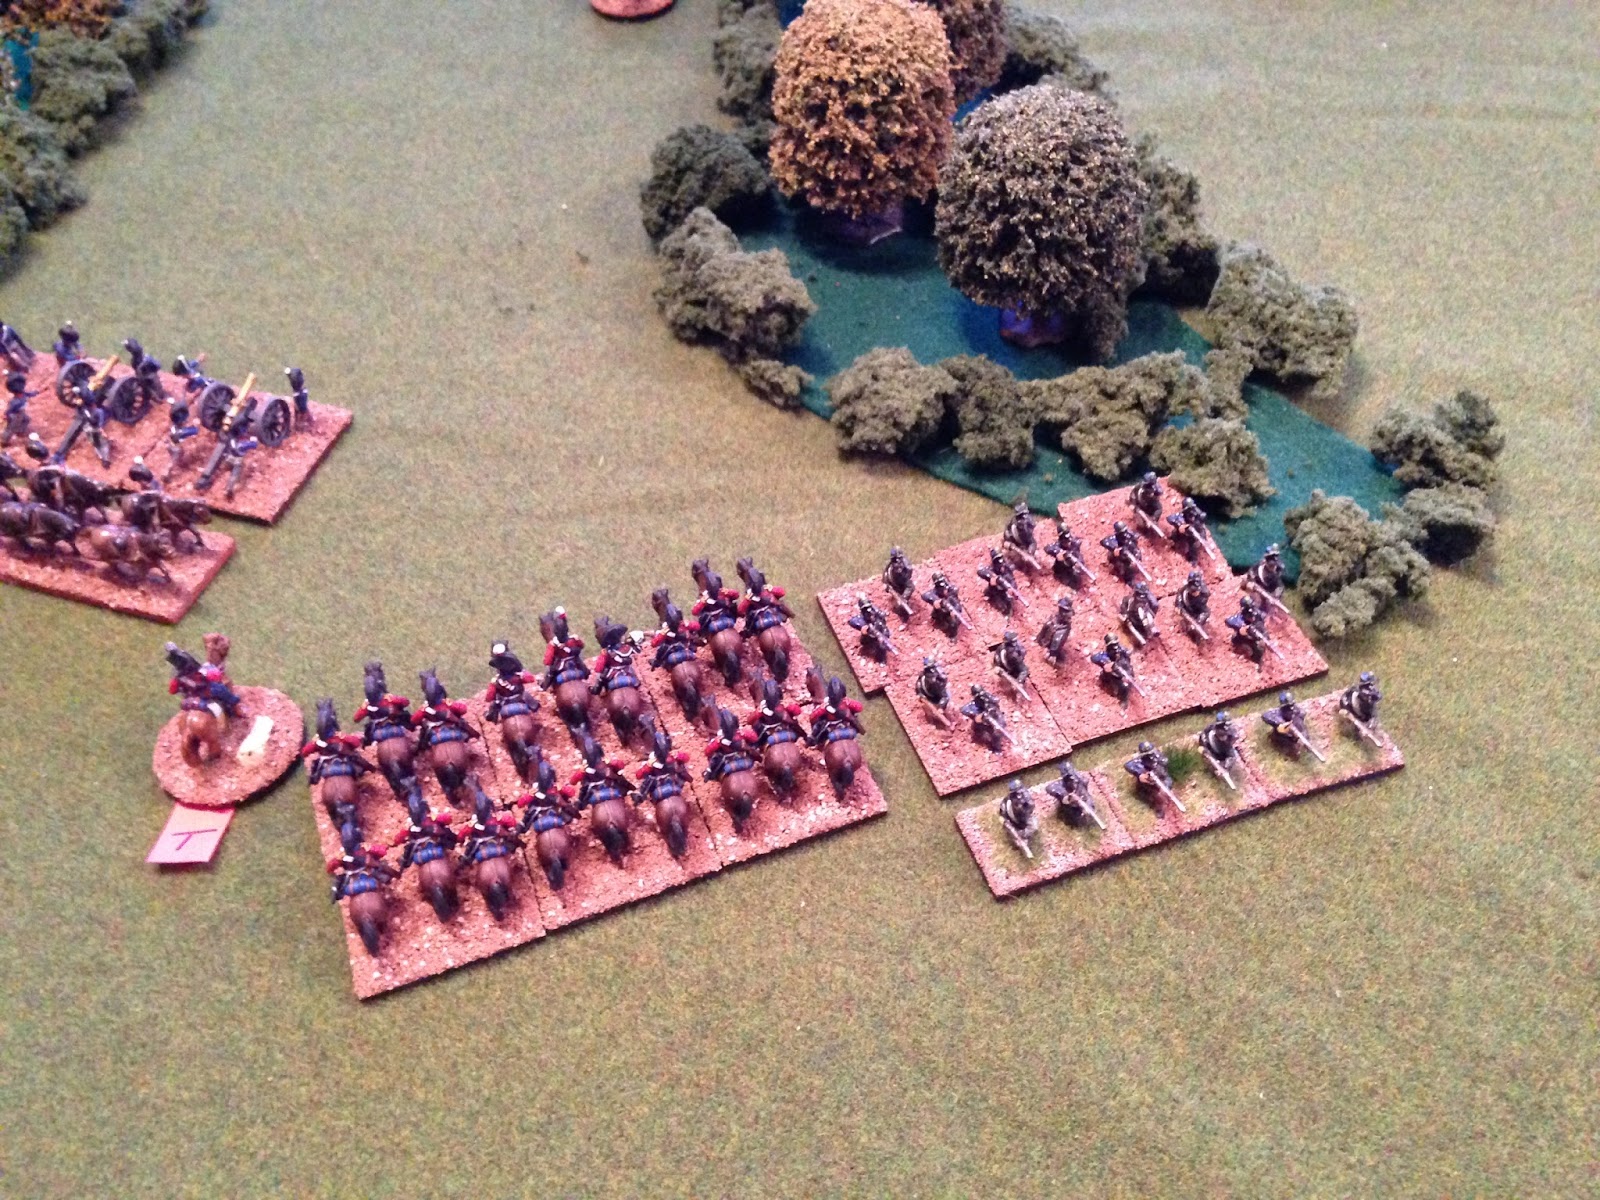
The bases look very Martian again, but they aren't really that colour. I've just got the limber to do and that's the French light cavalry finished for LaSalle.
The tuftage is from Tajaima1 with the lighter stuff down the sides made pre-flockbox.


The figures are from CGM in Spain. They are 1812 regulation and the guns are 6Pdrs (which apparently weren't used in the peninsula but I'm really not bothered about that sort of thing anymore SACRILEGE!)


Monday, 2 June 2014

Bob Crauford's Bad Day

This is the first of a three game try out of a mini campaign based around Light Division  advance guard / rear guard actions in the Peninsular. Black Bob's Light Division has come up against elements of the French army and taken a defensive position. 

This is a true and fair account, written without prejudice and with the impartiality for which I am well known regarding all things relating to the Peninsular War.


The forces involved were:

Good

Commander (Crauford)

British Core Force from the Light Division:
Sub Commander: Vigor -1 Tactics Good
1 Rifle (+) Valiant/Experienced/SK3
1 Elite Infantry (+) Valiant/Experienced/SK3
1 Infantry Reliable/Experienced/SK2
2 Cacadore Reliable/Experienced/SK3
1 RHA BTY of 2 medium guns and a howitzer

With the addition of a brigade of another division:
Sub Commander:Vigor +1 Tactics Good
4 Infantry Reliable/Experienced/SK2
1RA BTY of 2 medium guns and a howitzer

The British Force had no cavalry which proved crucial to the outcome.

Evil

Commander (A random frog with no name)

The French Core Force Core Force was from an Infantry Division:
Sub Commander:  Vigor 0 Tactics Good
2 Veteran Infantry Reliable/Experienced/SK2
3 Conscript Infantry Reliable/Amateur/SK1 
1 Dragoon Reliable/Experienced/Shock/Pursuit
1 Divisional BTY of 3 medium guns and a howitzer
1 Veteran Infantry Reliable/Experienced/SK2
1 Conscript Infantry Reliable/Amateur/SK1 
Units in italics are extra units given to attacking forces

With a second Conscript Brigade
Sub Commander: Vigor +1 Tactics Poor
2 Veteran Infantry Reliable/Experienced/SK2
3 Conscript Infantry Reliable/Amateur/SK1 
1 Divisional BTY of 3 medium guns and a howitzer


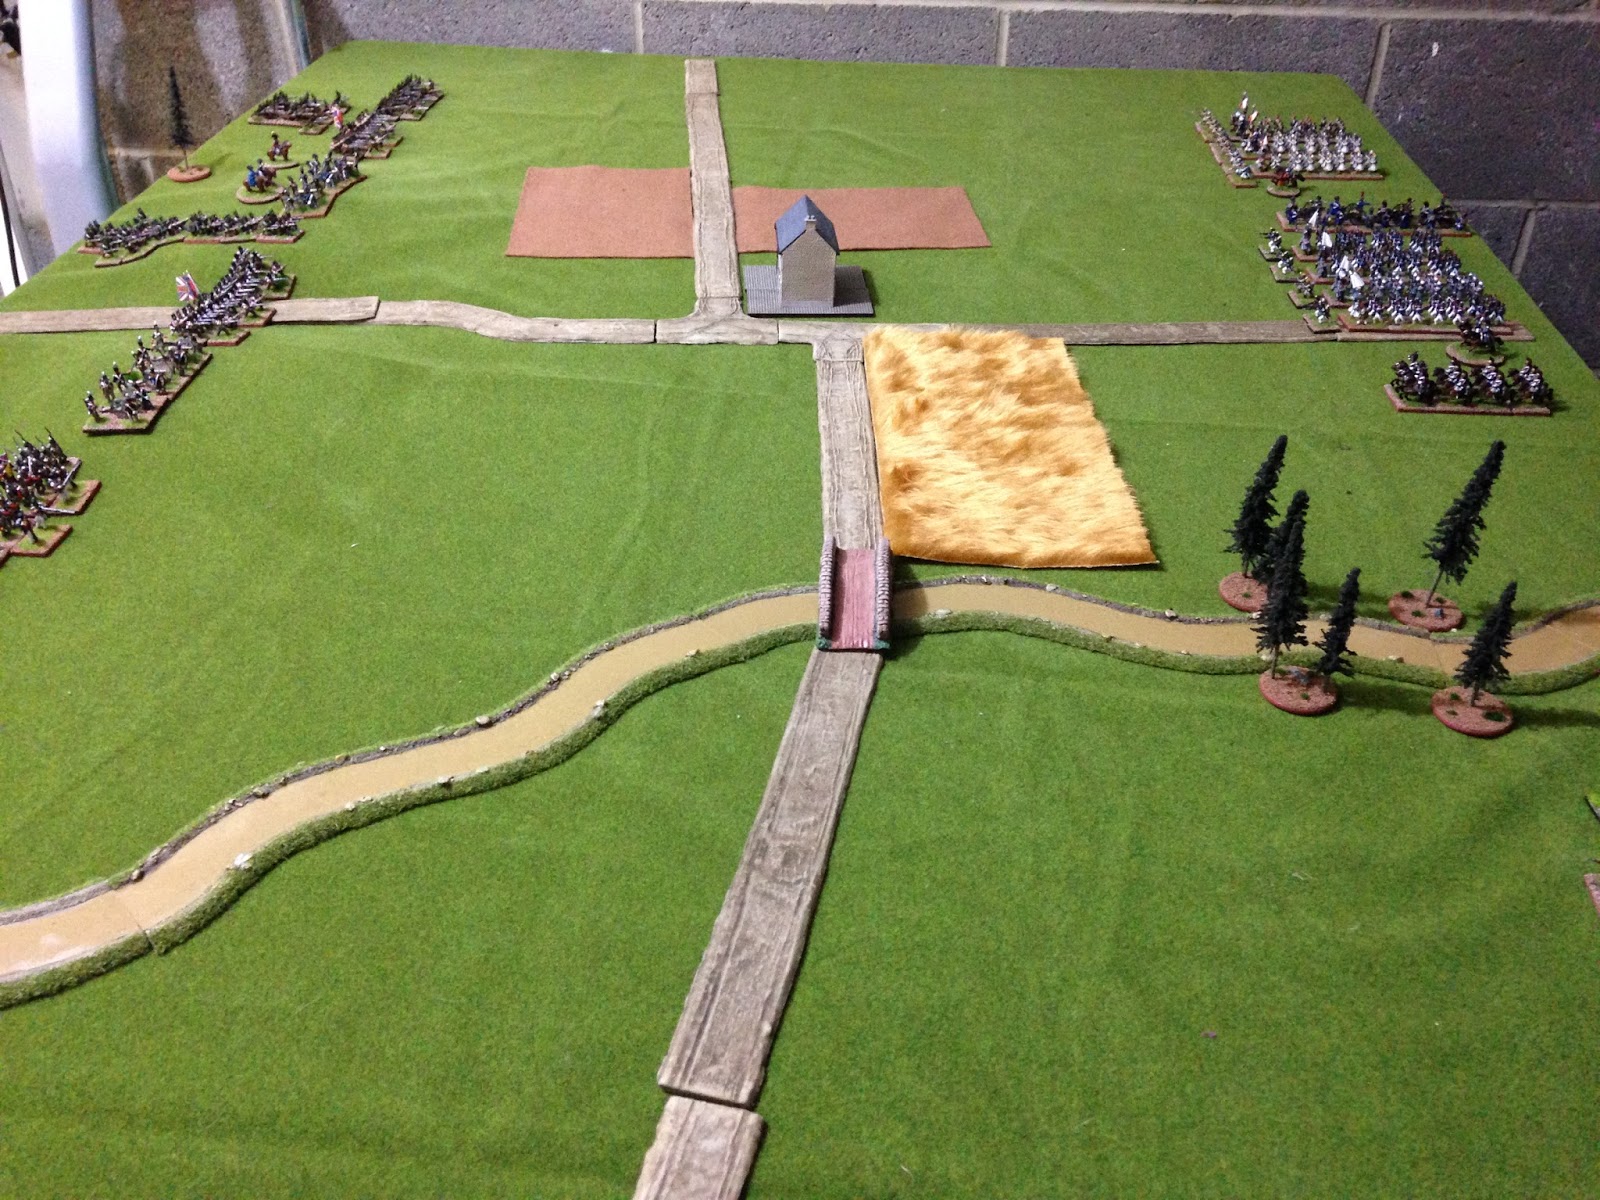
I diced for the scenario which produced the "Farms and Fields Terrain". The British, being the defenders added two hills as additional terrain, and the French added a ford across the stream as their selection (marked by 4 trees in the photos). All three fields are rough terrain.

As attackers, the French got to place the objective marker which they put at the front  left centre of the British deployment area. The  British then got to move it to the rear. In the pictures it is the lonesome pine on the British table edge.


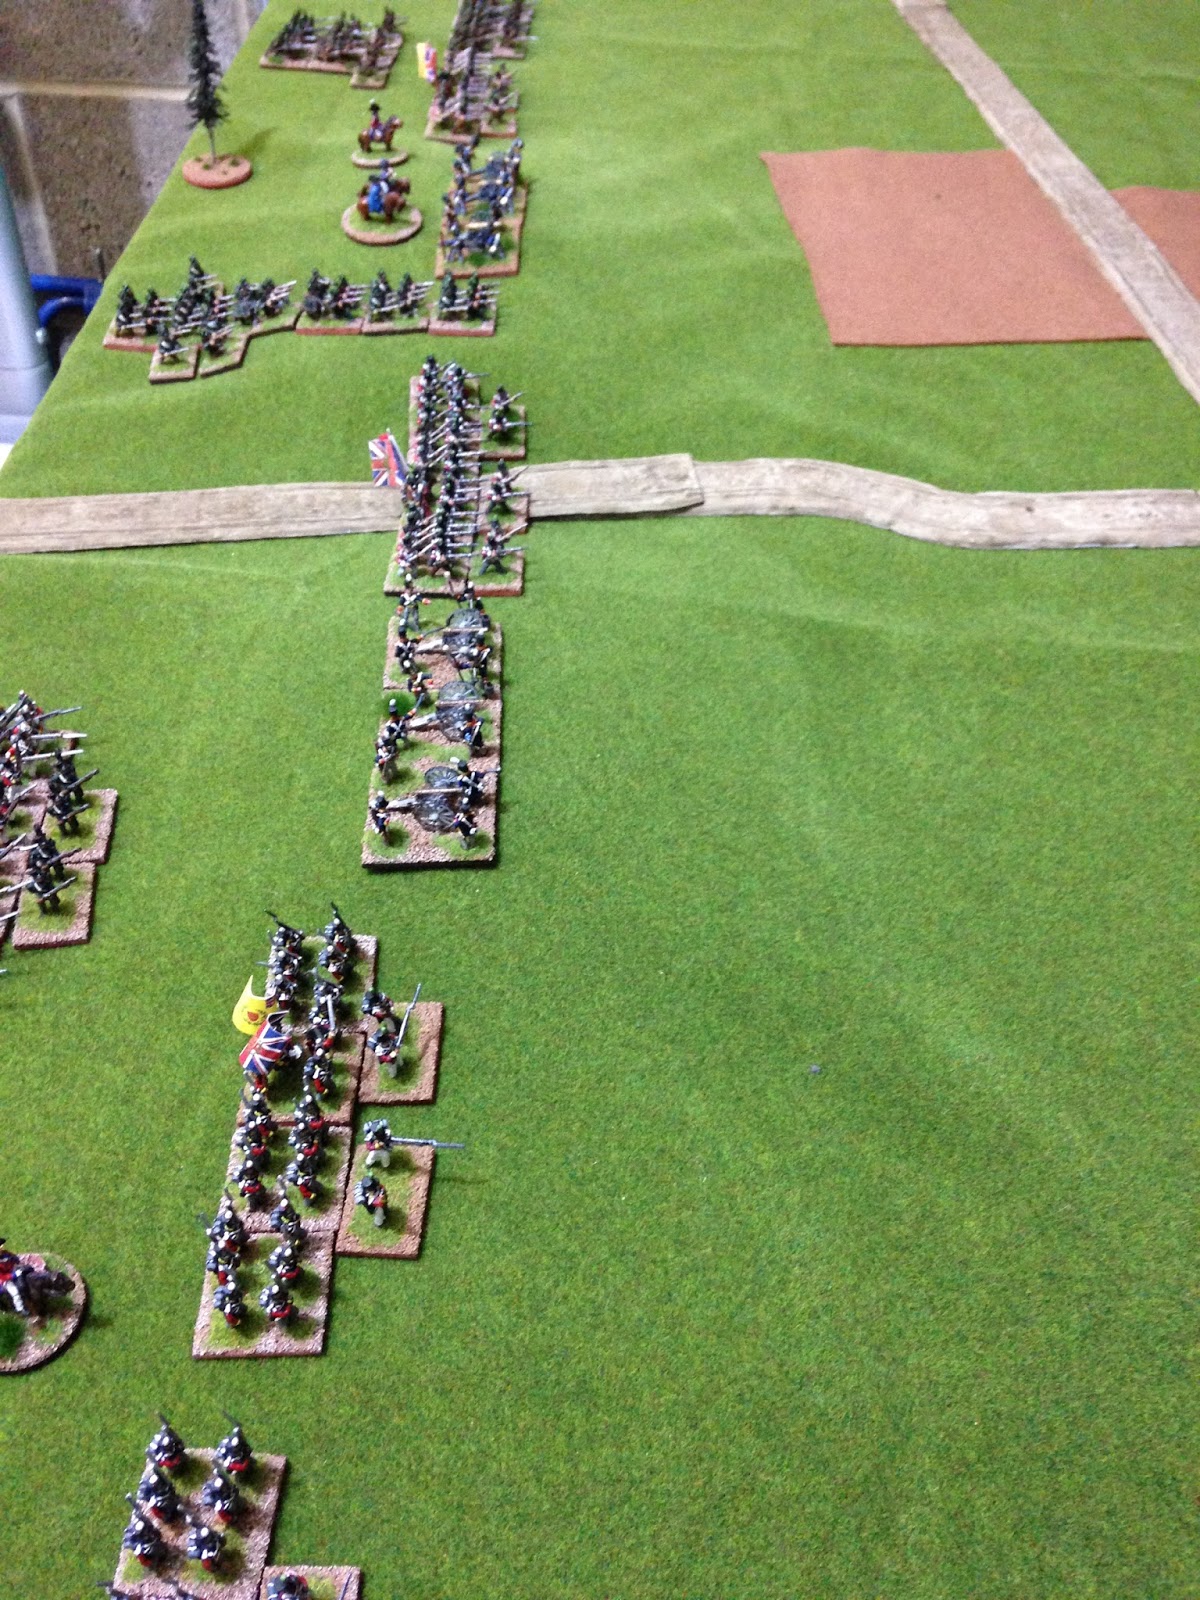
The British Centre
The Light Division deployed from the road to the left flank with the additional brigade and battery to the right.


As there was a farm in the middle of the table, wargamer brain kicked in and the rifles were deployed in march column because farms have to be garrisoned by rifles don't they? It would provide a strongpoint in the middle of the French lines an hamper communications between the flanks.


The French objective located behind Ross' horse battery and the 52nd.


The French deployed with their main force to the right. The veteran battalions took the flank, then the battery and the conscript battalions were on the left and behind the farm. All were in march column.


The second brigade deployed to the left of the stream.


Due to using 30mm base widths for movement instead of 40mm, the game length was extended from 16 turns to 20. This is 10 turns each side.


As attackers, the French take turn 1 and begin a general advance, only the right flank battalions hanging back to give the centre a chance to capture the farm before moving off. The dragoons move forward towards the cornfield.


The rifles join the race for the farm.


The conscripts beat the rifles to the farm with one battalion occupying it while the others form a disorderly queue trying to get around it due to the rough terrain which the dragoons are having a hard time negotiating.


The French left flank makes solid progress and deploys its battery in what proves to be a very effective position.


The rifles deploy into line and on the far left flank a cacadore battalion and the 52nd move forward a little.


French musketry from the farm begins to hit the rifles whilst the French left battery starts to damage two of the right flank British battalions.


The traffic jam around the farm continues and as the dragoons struggle to get out of the corn field they start to  take damage from artillery fire.


On the French right the battery has deployed to support the advance.


In fact the fire is so effective that it forces Ross' battery to limber up and consider getting the hell out of Dodge.


Valour gets the better of discretion and Ross decides to redeploy instead of riding off - the battery has missed a turn's firing though, allowing those veterans to get closer. Rather good combined arms tactics on behalf of the forces of evil it has to be admitted. Something that was to be repeated with more crucial effect later.


Meanwhile, back at the ranch, the rifles are starting to feel a bit uncomfortable as the conscripts begin to clear their log jam. The dragoons emerge in a pollen induced stupor from the corn field into the teeth of the RFA battery on the right hill.


And on the British right flank the hordes of Satan begin to wade across the stream. 


The French battery compresses its frontage to avoid hitting its own side crossing the stream. This will bring  more than a little discomfort to the right of the British line as the dragoons are beginning to  rally off the effects of the artillery fire (and the pollen).


Frenchman begin to unsportingly gang up on the rifles.


And on the British left flank the silencing of the RHA battery has allowed the French to get closer to the lonesome pine objective.


The Royal Artillery get some more roundshot onto the conscripts and dragoons.


While Ross' battery gets back to supporting the left flank.


And on the British left flank the Satanic hordes are getting uncomfortably close.


The French CinC (1/2 out of shot bottom right) continues to gee up the dragoons


And on the British left flank the first French assaults go in.....


And fail with the loss of a battalion. In the background a  hitherto unseen Spanish village appears Brigadoon-like out of the mists (see previous post - I had nowhere else to put it at the time).                                                      


Ross's determination to hang around had contributed to wearing down the battalion that routed.


And the British right is in danger of being outflanked and assaulted frontally.


Well that was the end of turn 16. Should the French push on as the objective might be in their reach with a renewed attack on their right, or should they hold off and wait until nightfall. If the British didn't leave the field a redeployment the next day may bring better prospects of smashing their line. If the British were worn down to 2/3 original strength and failed their army morale test, the fact that the French have cavalry would produce a major victory and reduce the chances of any routed British units returning for the next encounter.


The French determined to get stuck in and not wait around for another day and the assault went in for a second timeon the British left flank.


In the centre two conscript battalions finally got to grips with the 95th.


The first assaults went in on the British right flank.


And the dragoons advanced to threaten the right centre of the British line.


On the British right two French battalions were hurled back, but a third broke a British battalion.....


and advanced towards the battalion in reserve.


In the centre - the rifles broke!


As did a cacadore battalion on the left, but the French brigadier was wounded in the process. The Allies were approaching their first break test rapidly


The French dragoons had forced a battalion into square, but the right flank RA battery now had a conscript battalion in its sights and in cannister range.


On the British left flank a race began for the objective. There were no allied units within control distance of it.


Last french move of normal time and more assaults on the British right.


In the centre the French try to get a battalion through the gap between the 43rd and Ross' battery .

And on the Brtish left, the French (who are more used to running) speed towards the objective.


The assault on the 43rd grinds to a halt as the RA battery destroys the French battalion with a withering 8 hits.


Another French battalion breaks on the British left leaving only one heading for the objective. This is going to be close.


Another French battalion breaks near the stream. The French are rapidly approaching a break test too.


Ross' battery is forced to limber up again.


At the end of the last British move of normal time the French have got a battalion in control distance of the objective. Even though they are still one unit loss short of their break point, this forces a break test on them with one less dice than normal. This is move 20 so they have to throw 21 or more on 4 dice - they don't and that's the end of Bob Crauford's bad day.


The state of play at the end of the game


The fact that the French had cavalry meant that they were able to pursue and turn a "marginal" victory into a decisive one. This makes it more difficult for the British to bring back lost units . As it turned out both sides were unable to recover two units, but The British have lost the Rifles and the French a Veteran Battalion.


I'm really going to have to get some more cavalry painted.