This is the first of a three game try out of a mini campaign based around Light Division advance guard / rear guard actions in the Peninsular. Black Bob's Light Division has come up against elements of the French army and taken a defensive position.
This is a true and fair account, written without prejudice and with the impartiality for which I am well known regarding all things relating to the Peninsular War.
The forces involved were:
Good
Commander (Crauford)
British Core Force from the Light Division:
Sub Commander: Vigor -1 Tactics Good
1 Rifle (+) Valiant/Experienced/SK3
1 Elite Infantry (+) Valiant/Experienced/SK3
1 Infantry Reliable/Experienced/SK2
2 Cacadore Reliable/Experienced/SK3
1 RHA BTY of 2 medium guns and a howitzer
With the addition of a brigade of another division:
Sub Commander:Vigor +1 Tactics Good
4 Infantry Reliable/Experienced/SK2
1RA BTY of 2 medium guns and a howitzer
The British Force had no cavalry which proved crucial to the outcome.
Evil
Commander (A random frog with no name)
The French Core Force Core Force was from an Infantry Division:
Sub Commander: Vigor 0 Tactics Good
2 Veteran Infantry Reliable/Experienced/SK2
3 Conscript Infantry Reliable/Amateur/SK1
1 Dragoon Reliable/Experienced/Shock/Pursuit
1 Divisional BTY of 3 medium guns and a howitzer
1 Veteran Infantry Reliable/Experienced/SK2
1 Conscript Infantry Reliable/Amateur/SK1
Units in italics are extra units given to attacking forces
With a second Conscript Brigade
Sub Commander: Vigor +1 Tactics Poor
2 Veteran Infantry Reliable/Experienced/SK2
3 Conscript Infantry Reliable/Amateur/SK1
1 Divisional BTY of 3 medium guns and a howitzer
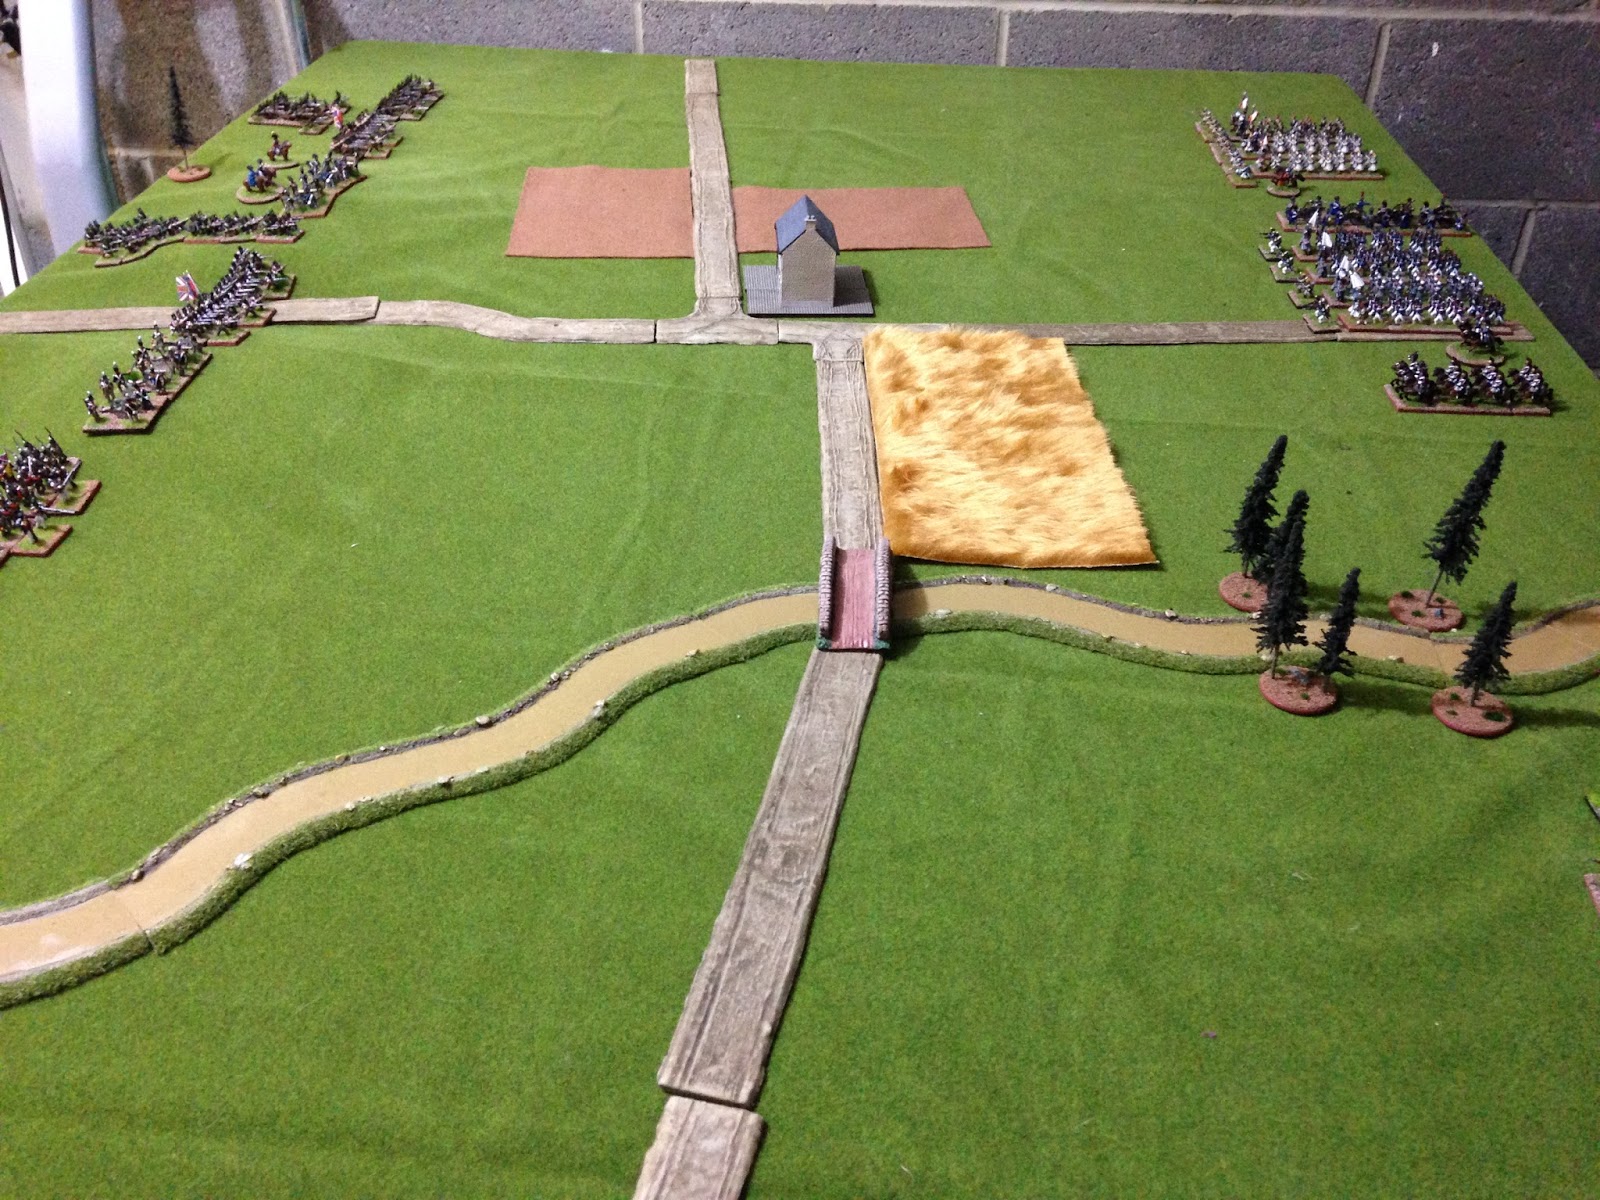
I diced for the scenario which produced the "Farms and Fields Terrain". The British, being the defenders added two hills as additional terrain, and the French added a ford across the stream as their selection (marked by 4 trees in the photos). All three fields are rough terrain.
As attackers, the French got to place the objective marker which they put at the front left centre of the British deployment area. The British then got to move it to the rear. In the pictures it is the lonesome pine on the British table edge.
The British Centre
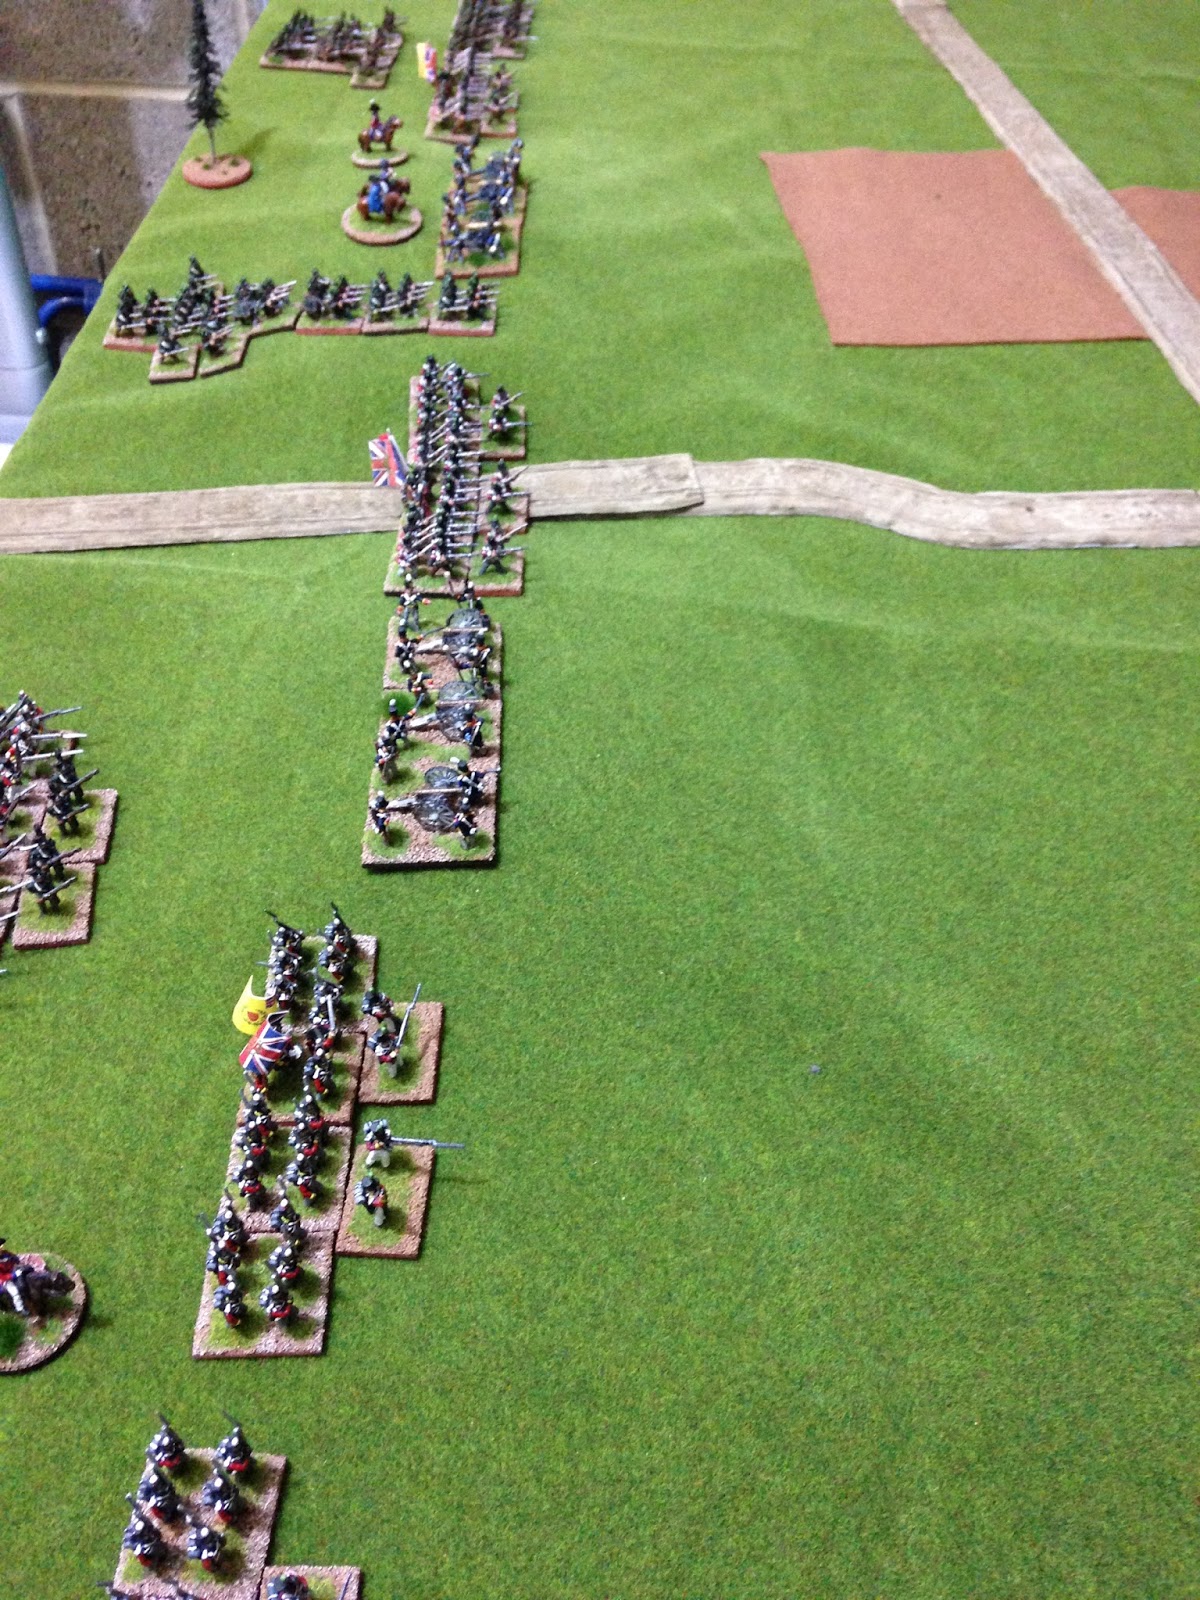
The Light Division deployed from the road to the left flank with the additional brigade and battery to the right.
As there was a farm in the middle of the table, wargamer brain kicked in and the rifles were deployed in march column because farms have to be garrisoned by rifles don't they? It would provide a strongpoint in the middle of the French lines an hamper communications between the flanks.
The French objective located behind Ross' horse battery and the 52nd.
The French deployed with their main force to the right. The veteran battalions took the flank, then the battery and the conscript battalions were on the left and behind the farm. All were in march column.
The second brigade deployed to the left of the stream.
Due to using 30mm base widths for movement instead of 40mm, the game length was extended from 16 turns to 20. This is 10 turns each side.
As attackers, the French take turn 1 and begin a general advance, only the right flank battalions hanging back to give the centre a chance to capture the farm before moving off. The dragoons move forward towards the cornfield.
The rifles join the race for the farm.
The conscripts beat the rifles to the farm with one battalion occupying it while the others form a disorderly queue trying to get around it due to the rough terrain which the dragoons are having a hard time negotiating.
The French left flank makes solid progress and deploys its battery in what proves to be a very effective position.
The rifles deploy into line and on the far left flank a cacadore battalion and the 52nd move forward a little.
French musketry from the farm begins to hit the rifles whilst the French left battery starts to damage two of the right flank British battalions.
The traffic jam around the farm continues and as the dragoons struggle to get out of the corn field they start to take damage from artillery fire.
On the French right the battery has deployed to support the advance.
In fact the fire is so effective that it forces Ross' battery to limber up and consider getting the hell out of Dodge.
Valour gets the better of discretion and Ross decides to redeploy instead of riding off - the battery has missed a turn's firing though, allowing those veterans to get closer. Rather good combined arms tactics on behalf of the forces of evil it has to be admitted. Something that was to be repeated with more crucial effect later.
Meanwhile, back at the ranch, the rifles are starting to feel a bit uncomfortable as the conscripts begin to clear their log jam. The dragoons emerge in a pollen induced stupor from the corn field into the teeth of the RFA battery on the right hill.
And on the British right flank the hordes of Satan begin to wade across the stream.
The French battery compresses its frontage to avoid hitting its own side crossing the stream. This will bring more than a little discomfort to the right of the British line as the dragoons are beginning to rally off the effects of the artillery fire (and the pollen).
Frenchman begin to unsportingly gang up on the rifles.
And on the British left flank the silencing of the RHA battery has allowed the French to get closer to the lonesome pine objective.
The Royal Artillery get some more roundshot onto the conscripts and dragoons.
While Ross' battery gets back to supporting the left flank.
And on the British left flank the Satanic hordes are getting uncomfortably close.
The French CinC (1/2 out of shot bottom right) continues to gee up the dragoons
And on the British left flank the first French assaults go in.....
And fail with the loss of a battalion. In the background a hitherto unseen Spanish village appears Brigadoon-like out of the mists (see previous post - I had nowhere else to put it at the time).
Ross's determination to hang around had contributed to wearing down the battalion that routed.
And the British right is in danger of being outflanked and assaulted frontally.
Well that was the end of turn 16. Should the French push on as the objective might be in their reach with a renewed attack on their right, or should they hold off and wait until nightfall. If the British didn't leave the field a redeployment the next day may bring better prospects of smashing their line. If the British were worn down to 2/3 original strength and failed their army morale test, the fact that the French have cavalry would produce a major victory and reduce the chances of any routed British units returning for the next encounter.
The French determined to get stuck in and not wait around for another day and the assault went in for a second timeon the British left flank.
In the centre two conscript battalions finally got to grips with the 95th.
The first assaults went in on the British right flank.
And the dragoons advanced to threaten the right centre of the British line.
On the British right two French battalions were hurled back, but a third broke a British battalion.....
and advanced towards the battalion in reserve.
In the centre - the rifles broke!
As did a cacadore battalion on the left, but the French brigadier was wounded in the process. The Allies were approaching their first break test rapidly
The French dragoons had forced a battalion into square, but the right flank RA battery now had a conscript battalion in its sights and in cannister range.
On the British left flank a race began for the objective. There were no allied units within control distance of it.
Last french move of normal time and more assaults on the British right.
In the centre the French try to get a battalion through the gap between the 43rd and Ross' battery .
And on the Brtish left, the French (who are more used to running) speed towards the objective.
The assault on the 43rd grinds to a halt as the RA battery destroys the French battalion with a withering 8 hits.
Another French battalion breaks on the British left leaving only one heading for the objective. This is going to be close.
Another French battalion breaks near the stream. The French are rapidly approaching a break test too.
Ross' battery is forced to limber up again.
At the end of the last British move of normal time the French have got a battalion in control distance of the objective. Even though they are still one unit loss short of their break point, this forces a break test on them with one less dice than normal. This is move 20 so they have to throw 21 or more on 4 dice - they don't and that's the end of Bob Crauford's bad day.
The state of play at the end of the game
The fact that the French had cavalry meant that they were able to pursue and turn a "marginal" victory into a decisive one. This makes it more difficult for the British to bring back lost units . As it turned out both sides were unable to recover two units, but The British have lost the Rifles and the French a Veteran Battalion.
I'm really going to have to get some more cavalry painted.