Friday, 25 December 2015
Monday, 14 December 2015
Why do we wargamers let companies get away with this crap?
The following is the reason I've given up on Warlord Games rules in general and "Pike & Shotte" in particular. Why the hell should the questions raised in the following post need to be asked about a rules supplement dedicated to the Thirty Years War?
Warlord forum question on the "Devil's Playground" supplement.
And the questions still haven't been answered - really taking the piss at the cost of the supplement!!!
Warlord forum question on the "Devil's Playground" supplement.
And the questions still haven't been answered - really taking the piss at the cost of the supplement!!!
Sunday, 13 December 2015
Somewhere in Northern Spain Late 1813ish Part Three
Well we finally finished the game this week. It ultimately went for 20 turns and ended in a draw - both sides choosing to leave the field and managing to recover all their routed units so we'll be on to game two in the New Year.
I think it's fair to say that we have both been impressed with how these rules work, and Dave might add his thoughts in the comments below, but for me it has been all about the impact of the Brigadiers. The two French "victories" in melee were brought about by taking advantage of either their own general's positive tactical modifier or the negative modifier of the British general. In addition to this, when it came to rallying lost units after the game, the French brigadiers' positive "Vigour" modifier were crucial.
The four lost units (2 British and 2 French) all needed to throw 3s to be recovered for the next game. Dave saved the two British units with no problem, but I threw 2s for both of mine and fortunately these were modified to 3s by the Brigadiers' vigour. In this battle there was definitely something to be said for sticking your bicorne on your sword (just don't Dave, please just don't) and shouting "Vive l'Empereur!"
So here's the position at the end of the game.......
On the Allied right flank, the isolated French veteran unit was disposed of as predicted in the last instalment.

In the centre Ross's battery continued to block egress from the village, but the 53rd were perhaps fortunate that night came. They ended in square in the face of the French horse battery and a unit of dragoons.

On the Allied left the rifles re-entered the wood and posed a threat to the horse battery and supporting chasseurs. The KGL dragoons turned about to threaten to support the rifles and 53rd, whilst their attached horse battery threatened the French hussars who had managed to rally off some of the damaged caused to them earlier.

The following three pictures show the closing position from the French perspective:


I think the verdict was "bloody brilliant" - kudos to Sam Mustafa for these rules.
Sunday, 6 December 2015
Somewhere in Northern Spain Late 1813ish Part Two
We've had a couple more sessions on this game and have got to the end of "Normal Time" which is 16 moves. The subtleties of these rules are really beginning to come through now, especially with regard to generals' ratings.
On the Allied left there were some cavalry melees which ultimately resulted in one regiment of the KGL dragoons routing. Although they were shock cavalry and had an advantage in the number of dice thrown, they were ultimately undone by their general having a poor tactics rating meaning that whilst they hit on 5s, the French hit on 4s. When a general directs combat by using his own good tactical rating or (as in this case) the opponent's poor rating, he puts himself at risk - in this case the French cavalry general survived.
In this photo it can been that the Allied left flank is now covered by the horse battery attached to the KGL dragoon brigade. Their roundshot was enough to make the unit of French chasseurs that had done the damage rout as they had been pretty well cut up in the process. The rifles can also be seen withdrawing from the wood.
In the centre the a general's tactical ability told again with the French brigadier using his own bonus to direct a combat which resulted in the 43rd being routed out of the village. We've started to realise how important an ability this!
Ross' battery has redeployed in front of the village and although their firepower is insufficient to cause any damage to the French infantry inside, it is making them think more than twice about advancing towards the objective. The 52nd have now deployed in square next to the battery as they are faced by a unit of French dragoons. As a result they are taking some damage from the French horse battery in the top left corner, but they are both a large unit AND managing to rally the hits off.

On the Allied right a lone French battalion has assaulted the cacadores to its front. Although it is of decent calibre, it took damage on the way in, partly because of having a poorer skirmish factor, and took another two hits in the melee. It is now one hit away from routing with the French to go next. If they retire they will not be able to rally off a hit and if they do stand and rally AND there is a further move, the cacadores will either go in with cold steel and probably annihilate them or try to inflict the necessary damage point from shooting. In either case I think I've thrown away one of my few veteran units.

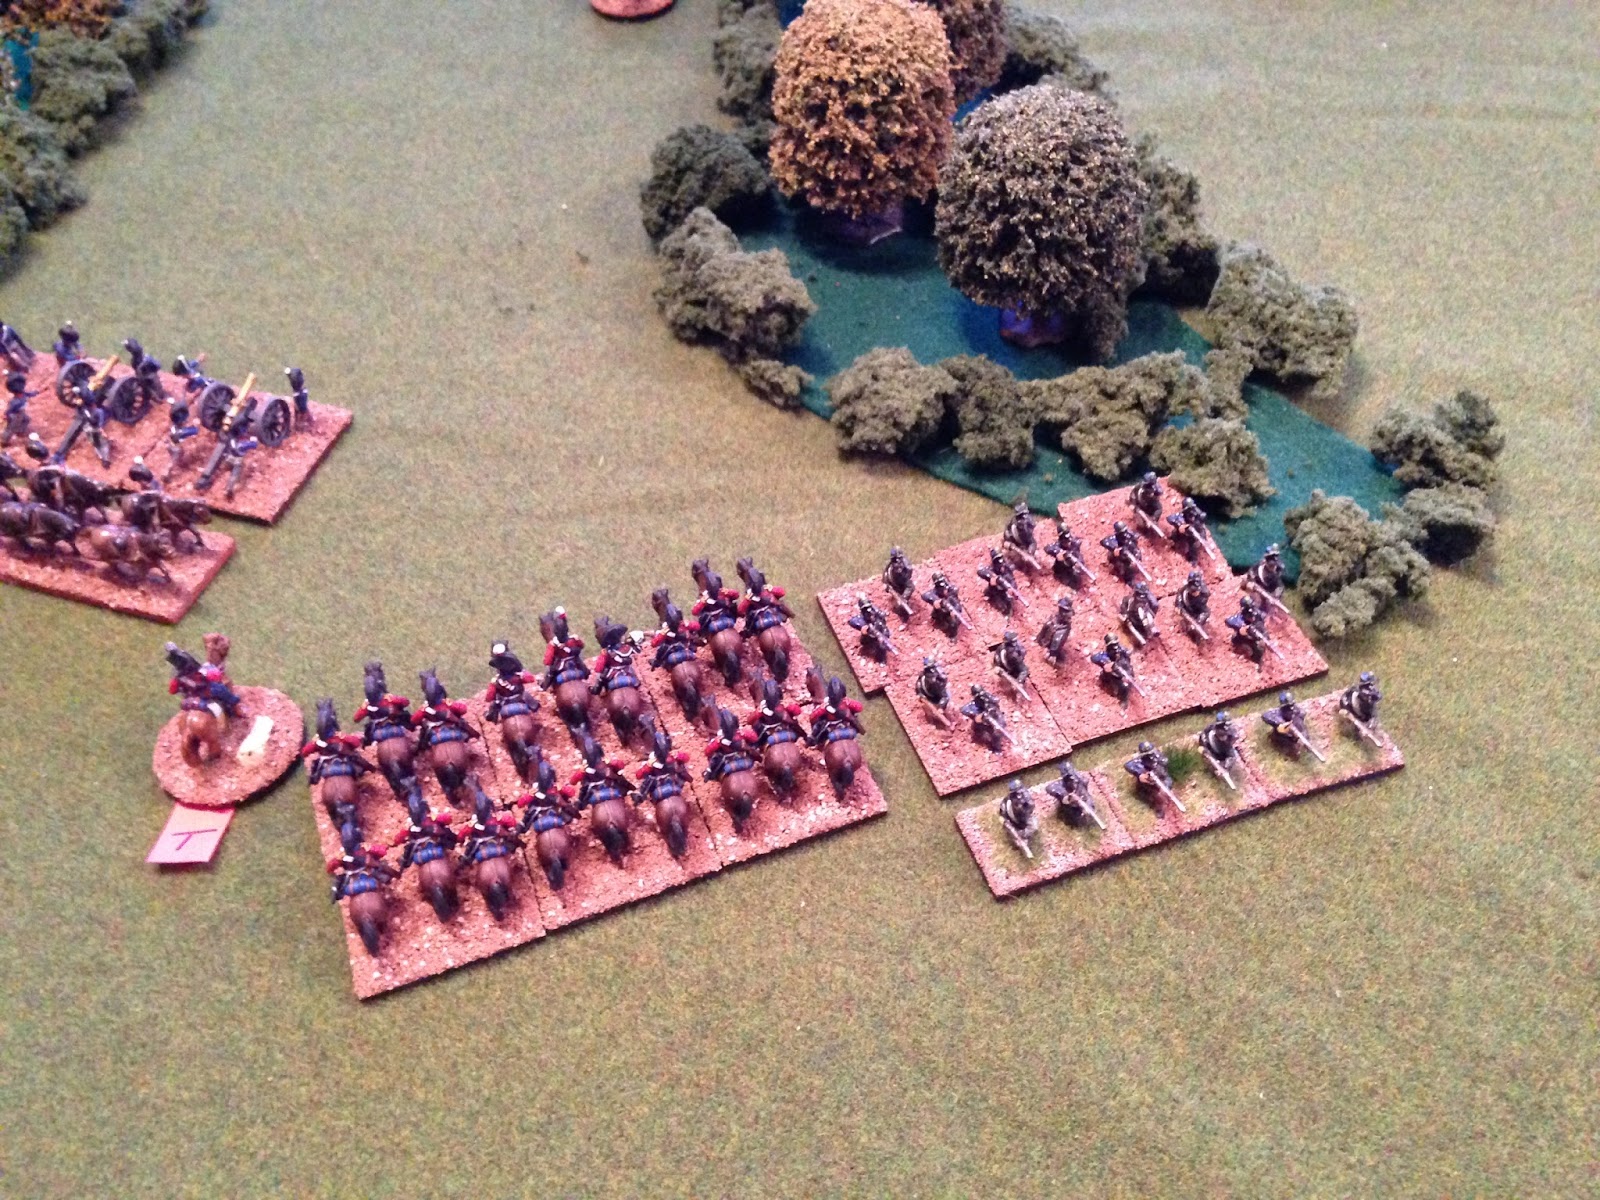
On the French side of the field the 3 remaining units of the cavalry brigade are sitting in front of the RHA battery. The lead hussar unit is one hit away from routing and really needs to get the hell out of dodge next move!

The 52nd's situation from the French point of view. They are in square due to the presence of the French dragoons and are being constantly hit by roundshot from the French battery.

The French look pretty strong on their left, but most of their infantry is conscript, the previously mentioned veteran battalion's morale is on the verge of collapse and another veteran battalion has effectively been wasted because it was deployed in loose order (irregular formation in LaSalle) to get through the woods. The foot battery looks impressive, but it is effectively firing roundshot blindly into the woods in the hope of doing some damage to the cacadore unit hiding inside.

The hussars to the rear thinking "We're going to have to take their place in front of that artillery now aren't we? - are we? - really?"

And finally a shot of the 52nd and Ross' battery blocking egress from the village and preventing an advance on the objective, which is behind the artillery.

So we are into extra time and all we know for certain is that there is going to be one more French move. The score so far is: France 2 (one unit of chasseurs a cheval) breakpoints received against a total of 9, but they are in imminent danger of receiving another 4 if the battle goes beyond the one extra move ; Allies 5 (one large cavalry unit and one infantry unit) breakpoints against a total of 7, but with little threat of any further immediate losses.
I think we are both quite enjoying this - the campaign scenario puts a totally different slant on everything!!
Monday, 9 November 2015
Somewhere in Northern Spain late 1813ish
So Dave and I finally got to start our LaSalle campaign. It's basically setting the Allied Light Division against a French infantry division over a series of tables drawn at random from the LaSalle book. The first side to get three games ahead will be the victors.
The first meeting has the Light Division with a reserve heavy cavalry brigade defending against a French Division supported by light cavalry. Dave is the Allies and I'm taking the forces of evil for once.
The first table is a heavily wooded affair. This is quite well suited for the Light Division but not so much for the French attackers.
The pictures aren't great, but here we go.
Deployment
A rather fuzzy picture of the French deployment. Light cavalry and horse battery on the right, two infantry battalions and a unit of dragoons in the centre and the balance of the infantry and an artillery battery on the left.

The Allies deployed with the cacadores on the right, the 43rd, 52nd and Ross's battery in the centre and the rifles on the left.

Another view of the Allied deployment.
(The artillery piece next to the wood is the French objective marker)

End of Move 4

The 43rd have almost occupied the village and Ross's battery have redeployed to cover the gap behind the wood after being forces to retreat by some cannistering from the French horse battery.

The French foot battery has deployed on a small hill opposite the cacadores and the infantry are trying to look threatening behind it.

Another fuzzy picture, this time of the centre of the field with a French battalion marching up on the road though the wood and another in loose order (irregular) in line in the wood.

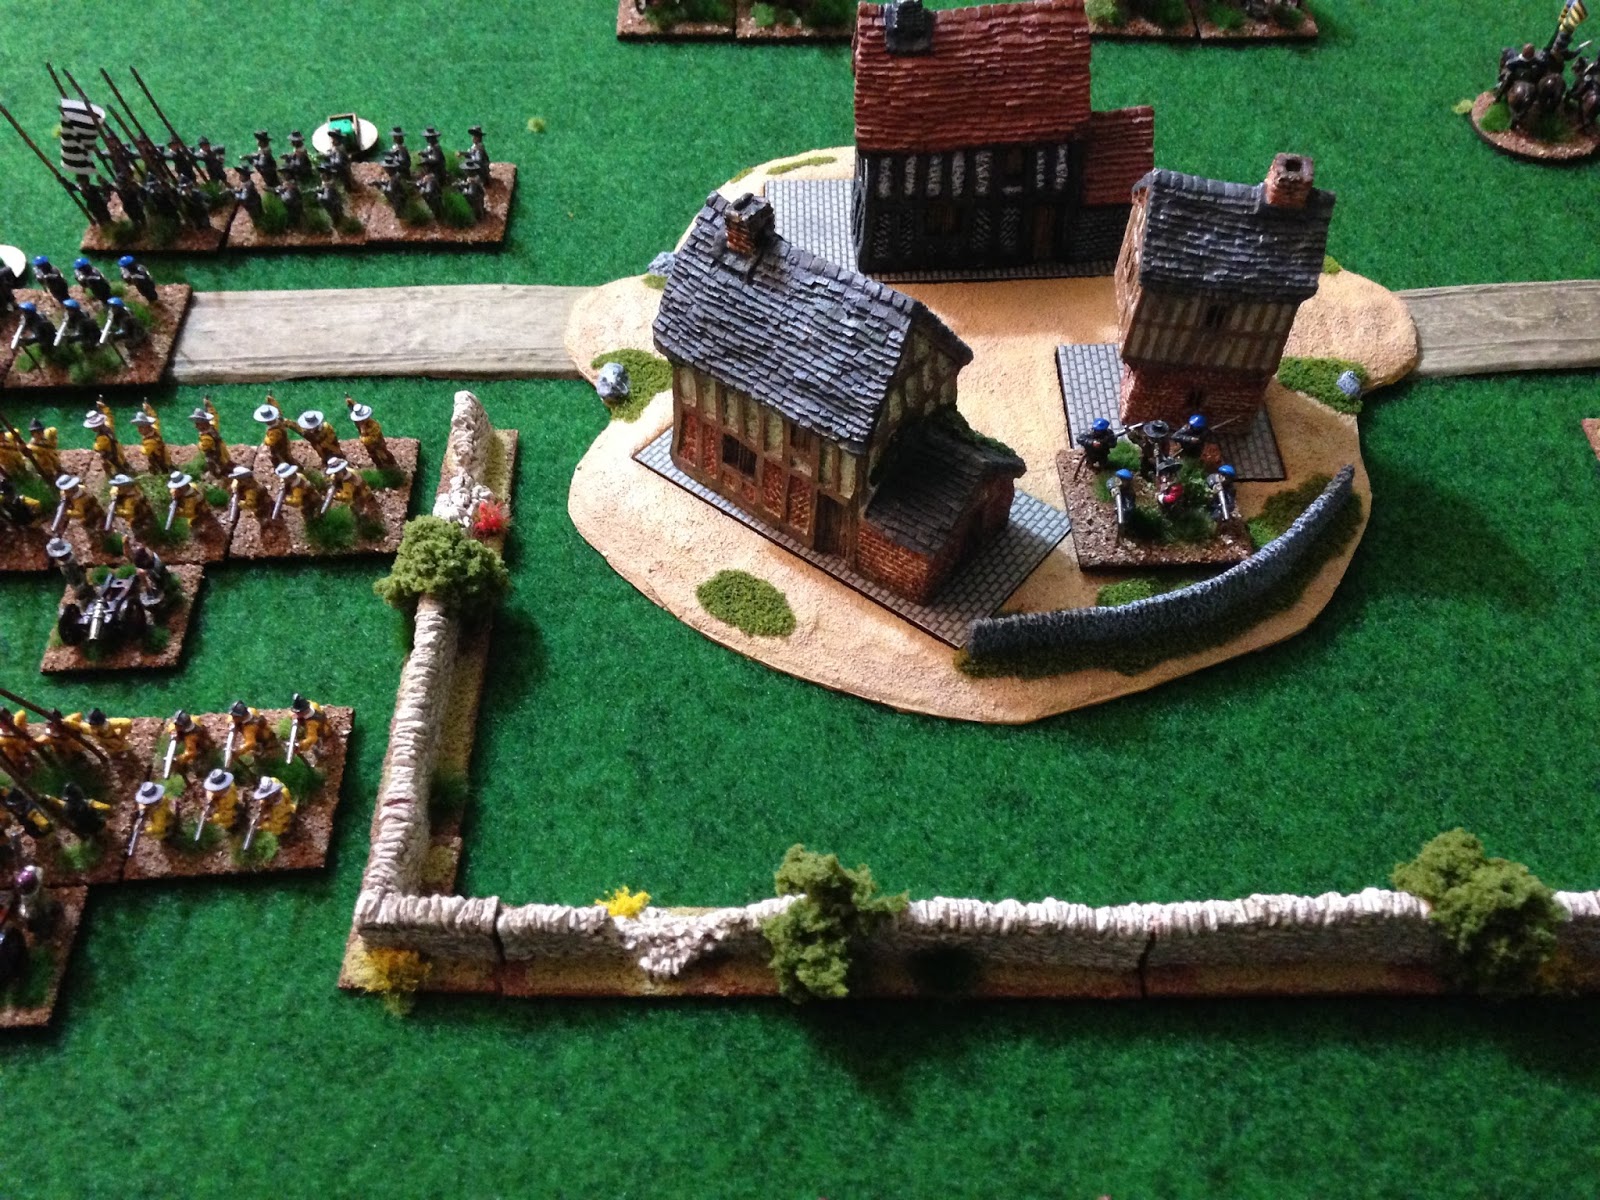
The buildings are from Leven Miniatures . I'm going to replace most of my 15mm buildings with 6mm as after playing games up at Mick's (See report on Froeschwiller) I think it's better to have more smaller buildings at 6mm than the one or two 15mm ones that are supposed to represent a village. Thanks to Scotty for bringing them to my attention. Really fast service from them and great little buildings.
Sunday, 18 October 2015
Tangoisms
I appreciate that this blog is becoming a bit like the ramblings of the Tangotronic 2000 over at the "dark place" but until I actually achieve something worth posting about here are a couple of wargames related items I've discovered on YouTube:
Two blokes present a Doctoral Thesis on how to take "stuff" out of one box and put it into another box. In truth this is a vital part of the hobby, and I can do it quite well. It's when I have to start moving the "stuff" about on the tabletop and throw dice that everything goes to hell.
I have found that this video is best watched whilst imagining that the two presenters are Eccles and
Bluebottle:
Appropriate music to accompany wargames has been on my mind a lot of late. Whilst there is a lot of tuneage that can be deemed appropriate for playing during Napoleonic games, I have always found music for World War Two problematical until I came across the following clip. Stick with it to the end, the last "Track" is an absolute gem:
Der Fuhrer Singt
Hope you like it boys.
Amicalement
(Smile)
Thursday, 15 October 2015
Wednesday, 30 September 2015
Hello Jacob William
Born really early on September 29th, First grandchild, well chuffed.
And if the Jays clinch the AL East tonight, this week will have been "just perfick".
And if the Jays clinch the AL East tonight, this week will have been "just perfick".
Thursday, 24 September 2015
New Figure Range
I think the wargaming world may finally be ready for my new range of Nazi Zulu Zombie Mage-Wizards on Motor Bikes!
Tuesday, 22 September 2015
10 with 12 games to go
Any combination of Jays wins and Yankees losses adding to 10 gives the Jays the AL East - getting exciting!
This link sets the scene.
And this video just sums it up nicely (quite cleverly done).
GO JAYS!!!!!
This link sets the scene.
And this video just sums it up nicely (quite cleverly done).
GO JAYS!!!!!
Friday, 11 September 2015
A gem from Rich at Toofat Lardies
I spotted this on a rare visit to the "dark place". Read the whole thread:
http://theminiaturespage.com/news/talk/msg.mv?id=444905289
Well played sir, well played.
The number is now 23
http://theminiaturespage.com/news/talk/msg.mv?id=444905289
Well played sir, well played.
The number is now 23
Wednesday, 9 September 2015
Monday, 7 September 2015
26 AND YELLOW LIGHTING
GO JAYS!!!
Seems odd to me that wargamers feel the need to complain about yellow fluorescent lighting at shows. If they are going there primarily to take photographs perhaps they should get an attitude adjustment and accept that shows aren't organised with the main aim of facilitating the blogging paperazzi .
Saturday, 5 September 2015
Thursday, 3 September 2015
Wednesday, 2 September 2015
Sunday, 30 August 2015

Sunday, 26 July 2015
A Report On Our Play Test Of "To The Strongest" For The Thirty Years War
The Imperialist and Swedish armies faced off over terrain that was constrained on the Imperialist left by a river and on the right by a town. The river was there for no other reason than to see how bridges work as we hadn't used one in TTS to this point - but no units managed to cross it!. The Imperialist battery in the centre was covered by earthworks. Unlike at Lutzen, there were no ditches lining the road which could be used to hamper the Swedes approach and this would prove costly to the Imperialist defenders.
To roughly reflect a Lutzen type scenario, All Imperialist Cuirassiers were veteran, Arquebusiers were raw, and there was one unit of veteran infantry.
For the Swedes the Blue and Yellow brigades were classed as veteran.
I took the forces of evil for once and Dave took the Swedes.
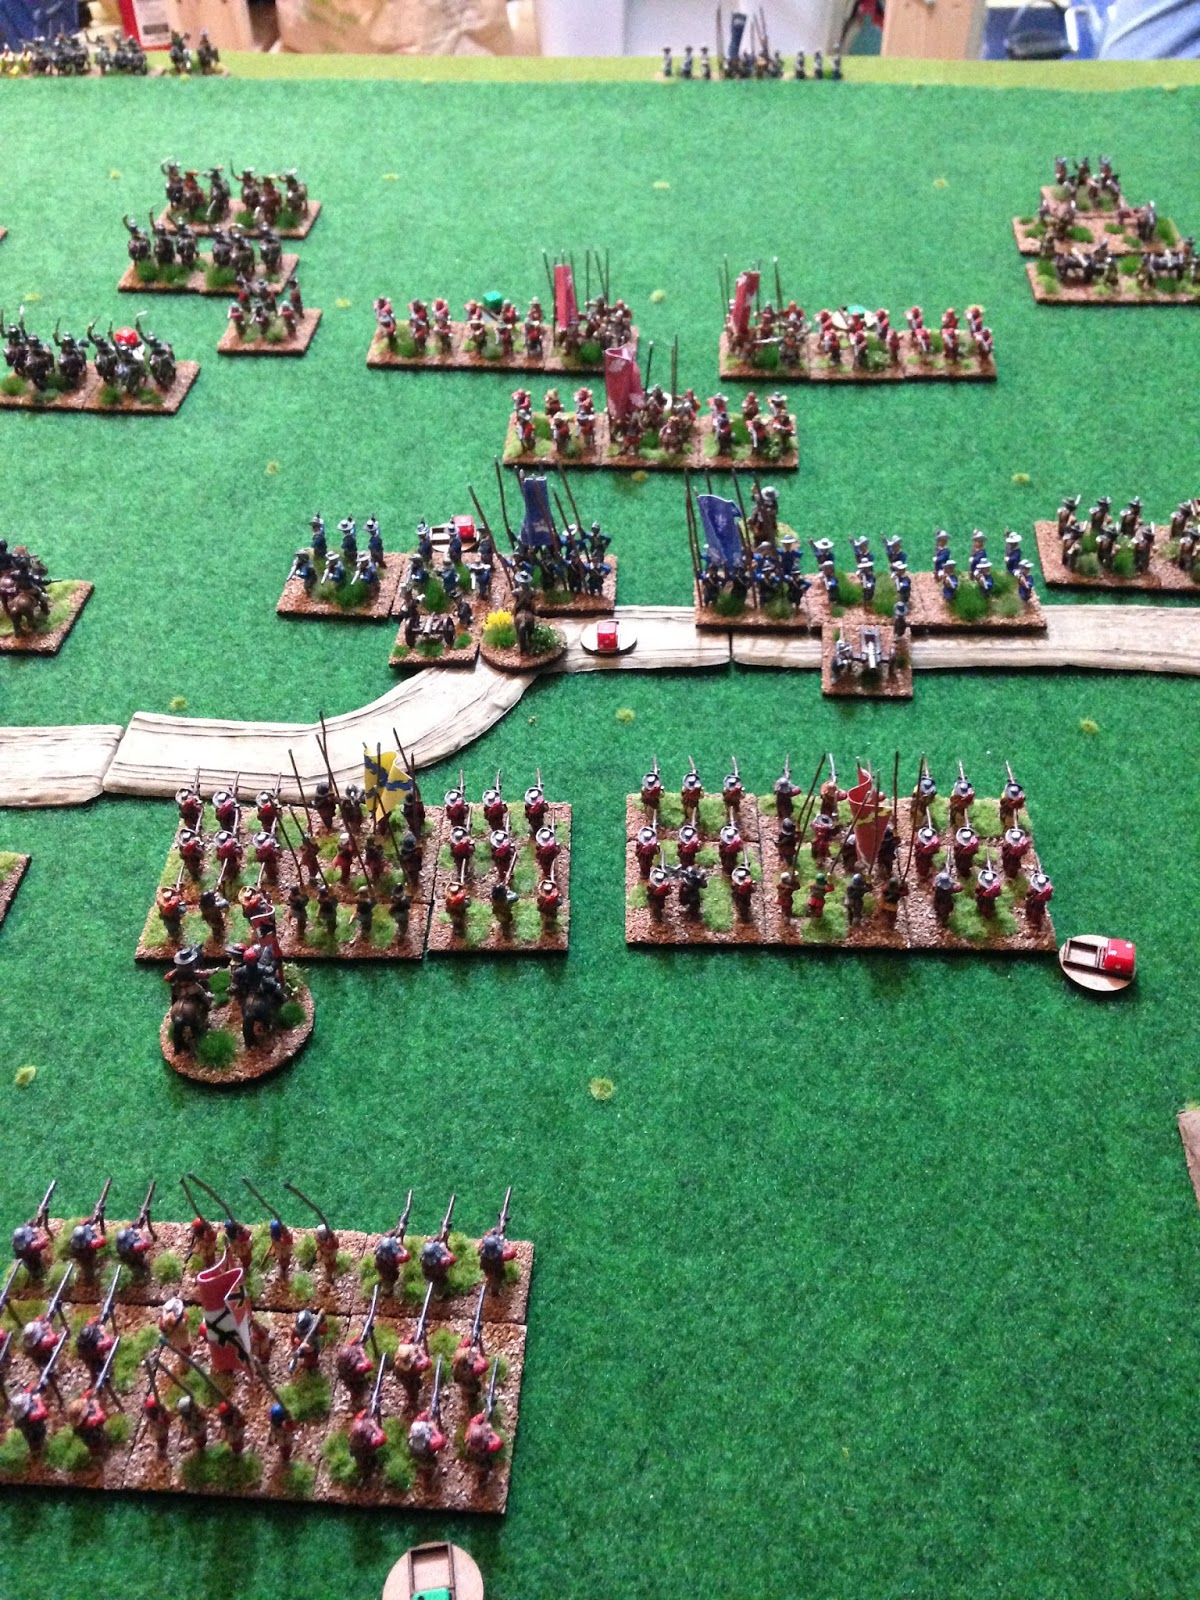
Imperialist Deployment
Screening the cuirassiers with the arquebusiers was a mistake. Their shooting did cause some casualties but it made it difficult for the cuirassiers to get through and take advantage of disorder. It would have been better to interleave them.

Swedish Deployment
The infantry centre is lead by the Yellow and Blue brigades and the front line of each cavalry wing has interleaved commanded shot. The veteran infantry leading the attack were tough opposition for the Imperialist defenders.

Imperialist Left
On the wrong side of the river were Cossack light cavalry and some arquebusiers facing off against two squadrons of Swedish reiters.

The Swedish left flank advanced

The Yellow brigade was a tad reluctant at first.

Playing in the inside right position, the Blue brigade was a bit happier to try to dominate the midfield.

The Swedish right wing wasn't at all interested, probably pondering a lucrative transfer to a club fighting in the English Civil War league.

The Imperialist left wing moved forward.

The Imperialist centre left arquebusiers went on ahead of the cuirassiers in an attempt to take some pot shots at the advancing Swedes.

The Imperialist battery was reluctant to open fire until Wallenstein threatened them with something unpleasant.

And on the Imperialist right Croats and arquebusiers moved forward to engage the Swedes in the gap between the town and the edge of the world. The elite of the Imperialist army were of the opinion that this task was beneath them and failed to support.

Swedish artillery silenced the Imperial battery. The fervent prayers of the Bishop of Mainz were insufficient to save the guns (or himself when the next card was turned!)

The leading squadron of the Blue brigade succumbs to Imperialist fire.

Bur the Swedish Yellow brigade is beginning to take a toll on the Imperialist infantry.


Swedish commanded shot occupy the town, they would take some fire from the arquebusiers
On the Imperialist right the cuirassiers finally decide to support the arquebusiers after the Croats had done a runner. The better quality of the Swedish cavalry was causing problems for the recently recruited arquebusiers all along the line.

The Imperialist left wing commander is wounded. Wallenstein's general staff got off relatively unscathed, but the Swedish high command was decimated by the end of the battle.

The arquebusiers were managing to cause some casualties which were being rallied as long as the Swedish Generals survived. The Cuirassiers couldn't get into the melee though.

Meanwhile, in a world of their own on the other side of the river..........

The destruction of the left flank arquebusiers was one way to get the cuirassiers into the fighting line. The Blue brigade is mixing it with the Imperial infantry, but note the lack of Swedish generals.

The Blue brigade takes some punishment and their commanding general is wounded, but their veteran status is showing and that right hand Imperial unit is only one hit away from routing.
After several attempts a unit of Imperial commanded shot moves up to occupy the earthworks, while the Yellow brigade piles the pressure on.

An Imperial battalion cracks. leaving a gap in the line.

General mucking about in the town leads the loss of some Swedish commanded shot, but it's all a bit of a side show really.

"Weren't we supporting some arquebusiers?"

At the end of the game there was a large disparity in victory tokens lost - the Imperialists were hammered in a frontal assault by the Swedish brigades, but at the cost of nearly all the general staff - quite a Lutzen-esque result.
We concluded that the wide margin of Swedish loss was not due to the rule amendments but to:
- The relative quality of the troops - which was the idea.
- The lack of any real measure of Wallensteinesque fortification along the entire length of the Imperial front.
It was a really good game and the only change we've made since is to reduce the cavalry ammunition.
The Swedes were in charge of the field, but there was no one left to tell them what to do next.
Apologies for switching between present and past tenses in the narrative.
Subscribe to:
Posts (Atom)