Check Your Sources
So the table doesn't look much like the previous set up. I got the scenario from the book "Bad Roads and Poor Rations" by Adrian Mandzy and set the terrain using the map for Cook's Mills, but when I started to read the accounts of the action I couldn't really follow it on the table - it just wasn't making sense. There are some good accounts on the Internet, but the best relation of the events I've come across is in Donald E Graves "And All Their Glory Past" (Fort Eerie, Plattsburgh and the Final Battles in the North).
I started looking for maps on the internet and eventually found two information boards from the battle field at https://www.veterans.gc.ca/en/remembrance/memorials/canada/battle-cooks-mills-memorial-peace-garden . The mystery was solved and the sequence of events finally made sense, so I changed the table in line with the information boards.
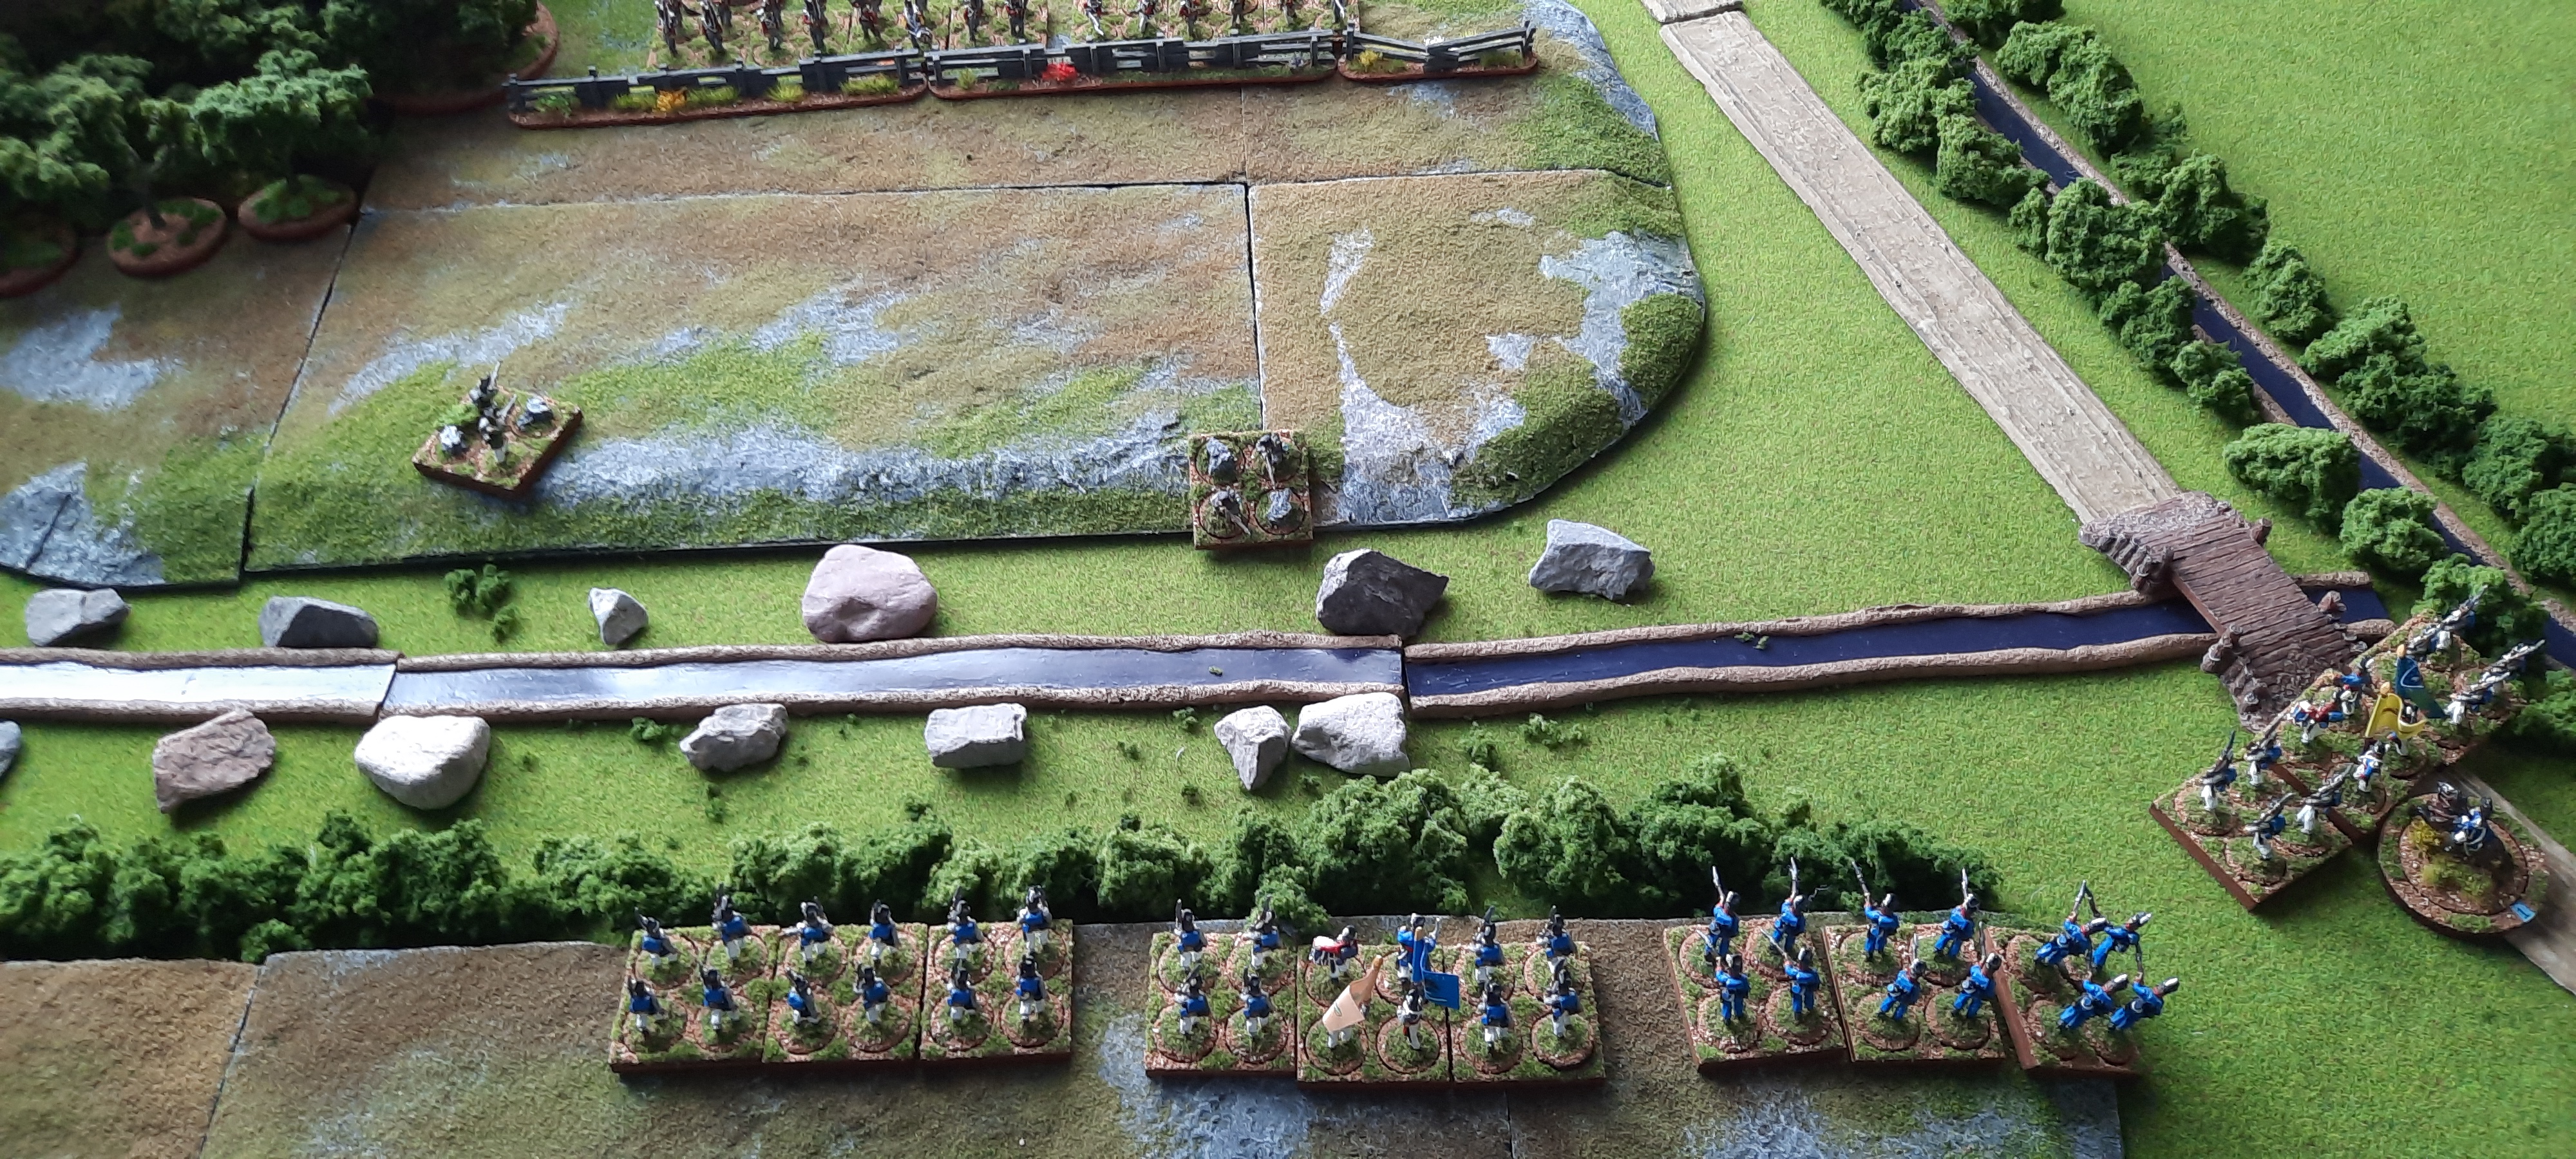
We started the game with the US Rifles and Voltigeurs Canadiens (I haven't got any Glengarry Light Infantry painted yet) skirmishing at the ravine. The United Statesian infantry are encamped behind the woods by the mill (it's actually my scratch built cooperage).

To cut a long story short, Dave deployed his infantry from the camp, marched over the bridge and swung round to meet my redcoats who came onto the table on the road by the stream in the top right of the picture below. I initially advanced to the edge of the ravine and then retired behind the rail fence to await the US attack which duly came.

But just how much cover does a rail fence give? I've considered just making them obstacles to movement in the past, but the account of Lt John Couteur of the 104th Foot, present at the action and quoted in Grave's book, gives the answer:
"We halted for a short while, drawn up securely behind a rail fence, a capital protection, when soon the Marquis [of Tweeddale] ordered us to retire by alternate wings" - my italics.

Unfortunately my light companies were a bit too advanced and were caught by a US regiment. They ran to the rear and discomfitted the crew of the 6Pdr gun enough for them to limber up and follow. It can just about be seen by the road at the back of the picture below.
We had questioned the lack of an evade rule in the previous game, and it brought a premature end to this one, although my alter-ego of the Marquis of Tweedale would have followed historical precedent at this point. It was only a couple of days ago that I discovered an evade rule and an artillery bounce through rule on the Little Wars TV website. These will both be incorporated going forward.
Various pics of the closing position follow:


So in some ways it was a bit of a non-game, but it was a great excercise in learning the rules with a small force on each side. In addition it gave a great deal of satisfaction in ending up almost exactly like the real action as per the Information Boards mentioned above. The only real difference is that Dave didn't take a regiment up the other side of the creek.

On Stupidly Doubting the Word of Donald E. Graves
So according to Mr Graves, the Canadian/British force at Lundy's Lane had two 24Pdr Guns with them. This has triggered my wargamer's OCD as to how to represent them as the only company to produce such a beast that I have found is Blue Moon and I don't need three of them.
I decided it must be mistake and consulted my copy of Franklin's "British Napoleonic Field Artillery" where I found that the Iron 5.5" Howitzer was referred to as a 24Pdr. This must be the source of the error, I reasoned, and I can represent them with a howitzer with a black barrel.
But no........
On the Napoleonseries.org website, in the War of 1812 section, Mr Graves has an article on artillery. He specifically mentions two experimental short 24Pdr guns that were meant to serve as both field and siege artillery. They turned out to be too cumbersome for the field and too light for siege work, so of course, they were shipped off to Canada instead of Spain.
I still have no idea as to how to represent them.


